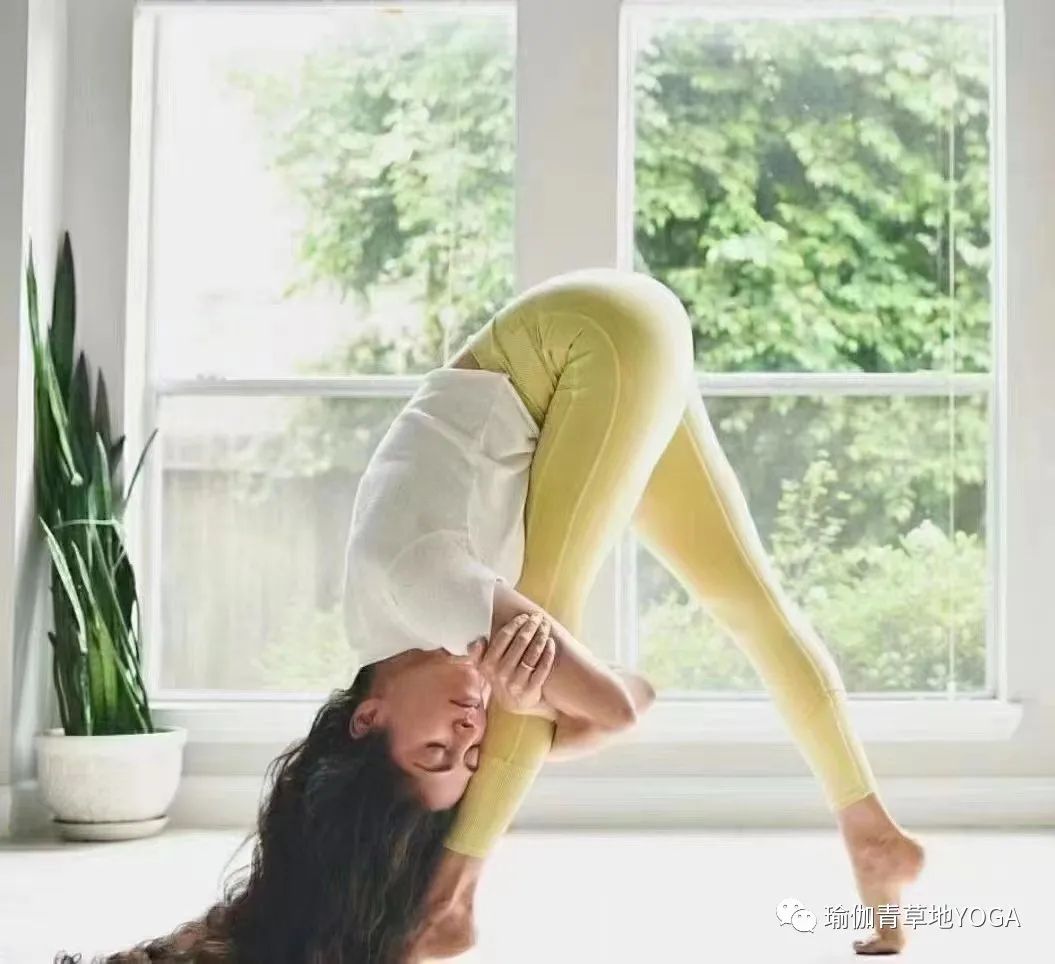
Yoga, how to protect the knee joint is a knowledge! The knee is a relatively large trochlear joint of the body, which is composed of bones, tendons, ligaments, cartilage and meniscus.

Because of its complexity, when practicing yoga, we should pay more attention to the positive position and sequential position, otherwise the knee is easy to be injured.

Especially in the one leg standing balance pose, the knee is easy to overstretch or lock, resulting in a false balance.
This wrong habit will not immediately reflect the injury and pain, but long-term wrong practice will lead to pain, swelling and inflammation, so we should pay attention to the following points to protect our knees when practicing one leg standing balance posture! 01.
Be more aware of the body.
Because the body is standing on one leg, the knee will bear greater pressure.
In order to protect the knee from injury, you should have more awareness of the body, including warm-up and the concept of muscle alignment and positive position.
For example: when practicing tree pose, many people will step on the inside of their knee joint, which is the wrong way! Such practice will cause the left and right misalignment of femur and tibia, which is easy to cause pain on the inside or outside of knee joint for a long time.
Please pay attention to point 1.2.3 in the picture! Either stick it to the thigh root or put it on the inner ankle! 02.
Lifting the arch and locking the knee is very common in yoga practice.
Locking the knee for a long time will lead to serious injury.
When practicing standing posture, we should focus on the stability of legs and create balance.
Don’t lock the knee joint, resulting in the illusion of balance and stability.
Instead of locking the knee to achieve “stability”, it’s better to focus on feeling the lifting of the arch of the foot to make the muscles start, strong and stable.
When you come to the one leg standing balance pose, pay attention to press the big toe ball down, press the heel down, and lift the arch away from the ground! 03.
Activate the leg and hip muscles.
Strong leg and hip muscles can well protect the knee.
Activating the hip and leg muscles can help stabilize the body and make the exercise more powerful.
When practicing Warrior III, start the quadriceps femoris, lift the patella and slightly bend the knee to avoid locking the knee.
At the same time, tighten the gluteal muscles to help stabilize the pelvis, press the big toe down, start the calf muscles, and lift the foot arch at the same time.
By activating the thigh and hip muscles, it is easier to find balance and strength, while also protecting the knee.
04.
Keep the kneecap in the same direction as the 2nd.3rd toe.
The knee can do four types of actions: extension, flexion, slight internal rotation of the knee when the foot is hooked back, and slight external rotation of the knee when the foot is straightened.
Unnecessary internal rotation and external rotation will cause knee injury, especially when the knee is loaded.
At this time, pay attention to keep the knee and the 2nd.3rd toe in the same direction, so as to avoid unnecessary torsion of the knee.
In soldier 2, we should pay attention to the opening of the hip joint, and pay attention to the leg bending the knee, so that the knee is perpendicular to the heel, and the kneecap is aligned with the 2nd.3rd toe.
05.
If necessary, it will be difficult to use aids to change the wrong habits at the beginning, but if you know it is wrong, don’t hesitate to change it.
For example, in the half moon pose, you can use yoga bricks, stick your back to the wall, and support your hands on Yoga bricks, which can protect your knees.
Today, I will introduce some exercises to strengthen the knee joint, so that your knees will remain young forever ~ 01 sit in a chair, hold a small plastic ball between your legs, keep your feet parallel, inhale and extend the spine, hold your hands flat in front, relax the back of your neck, exhale, and keep your hips away from the chair.
Pay attention to the tightening of the muscles of your legs, hold the ball for 5-8 breaths, and repeat group 5-8 02 mountain standing, Facing the chair on the right side, cover the left ankle and the chair foot with elastic band, abduct the left leg about 30 degrees, and repeat the practice for 5-8 groups.
Change the other side 03 to sit in the chair, inhale the right ankle and the chair foot with elastic band, and straighten the spine upward, and extend the right foot slowly and controllably forward to repeat the practice for 5-8 groups, Change the other side 04 to sit and stand on the cushion surface, roll the towel under the knee, tilt the torso slightly backward, put both hands on the back of the hip, slowly lift the right leg upward, and then restore and repeat the practice group 5-8.
Change the other side 05 to lie on the cushion surface, bend both knees close to the hip, clamp the small plastic ball with both legs, lift the hip upward into the small bridge pose, maintain 5-8 breaths, and restore and repeat the practice group 5-8, The official account is 06 small bridge type preparations, the right leg is stretched up and the hip is lifted up, then restored to repeat the exercises 5-8 groups 07 lie on the pad, bent knees, place the left foot tiptoe on the small plastic ball, then slowly roll from the toe to the heel and push the ball forward, until the left leg is stretched, repeat the 5-8 groups, the other side is 08 legs, the buttocks lie on the mat on the mat surface, and the legs are opened with the hip width.
Put one hand on the abdomen and the other hand on the chest for abdominal breathing.
Feel the slow uplift of the abdomen when inhaling.
When exhaling, the abdomen retracts inward.
Pay attention to exhale.
Be sure to exhale all the gas from the abdomen and repeat the exercise 30-50 times..

