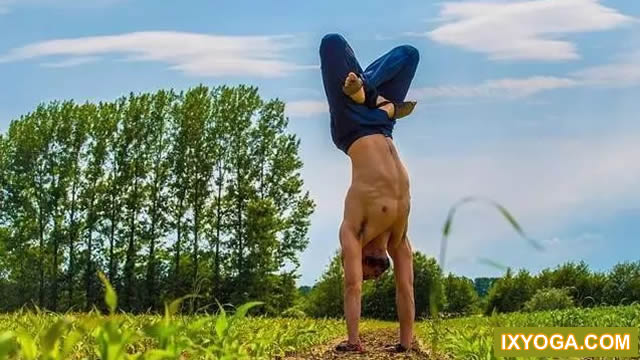
Pay attention to us with the blue words on it! Some children found that after practicing yoga, their waist was particularly painful, and some were also careful about the position of the lumbar spine.
So there will be a “rumor” that says, “Don’t practice yoga again.
After practicing, you will have low back pain” and so on Today, Xiaobian will talk to you about the causes of back pain after yoga.
Find out these causes, and we will know how to avoid back pain after yoga.
Generally, after practicing yoga, there will be low back pain postures, focusing on the back bending postures! There are mainly wheel type, bridge type, crescent type, upper dog type and cobra type.
There are several reasons for low back pain after practicing yoga: 1.
Before practicing yoga, you need to establish the leg strength and shoulder strength before you do a full warm-up backbend posture.
The chest spine and the front side of the hip in the backbend can be opened, so that you can enter the backbend posture more safely and deeply! Remember: Don’t practice without any preparation! It is the most important to practice yoga safely.
2.
If you don’t pay attention to the stretching of the lumbar spine, 70% of the back bending posture occurs on the lumbar spine.
Therefore, if you don’t pay attention to the stretching of the lumbar spine, it is easy to cause excessive pressure on the lumbar spine, causing pain.
3.
The strength of abdominal core muscles is insufficient.
In yoga practice, the teachers keep emphasizing that you should exercise your core muscle strength, which is the key for you to do every pose well, especially the back bend pose.
Our common crescent moon and diagonal plate are actually supported by the strength of your abdomen.
If your abdomen is not strong enough, your waist will suffer pain because of greater pressure.
4.
Hip muscle tension When practicing back bending posture, the gluteal muscle is too tense, which will cause the lumbar pressure to increase, which is mainly determined by the physiological structure of gluteus maximus.
The contraction of gluteus maximus will cause the leg bone to rotate outward, thus squeezing the sacrum and coccyx.
So you should pay attention to relax the hip muscles when doing the back bending posture.
Although the back bending posture of yoga is good, it must be practiced correctly.
Before the start of asana, you should fully warm up, open the front side of the body, activate the muscle group on the back side, so that you can practice more safely and truly enjoy the benefits of yoga.
How can you use yoga to effectively relieve back pain? Today, I will share with you a set of sequences, starting from extending the spine, opening the hips, and twisting the spine.
Daily exercise can effectively relieve low back pain! 01.
Wide baby kneeling, knees separated, big toes touching, hips sitting, heels inhaled, extended spine exhaled, hips bent, body folded forward, arms stretched forward, forehead pressed to the ground for 1 minute each time inhaled, more feel the back of the waist (floating rib area) each time exhaled, ribs pressed back to the middle back, lower abdomen slightly retracted, more feel the breath to the lower back 02.
Supine needle-eye kneeling supine, The right ankle is placed above the left knee and the soles of both feet are kept on the back of the left thigh with both hands clasped, inhaled close to the knee socket, and kept the pelvis stable.
The knee is pulled as close as possible to the chest cavity to exhale, the hands and thighs are against each other, and the left thigh is felt to be kept away from the abdomen for 3 minutes.
Repeat on the other side.
03.
Lie on the back and twist the knee, bend the knee, and put the right ankle on the inside of the left knee and the outside of the right knee, respectively land on the ground with both hands open, bend the elbow 90 °, Keep the shoulder on the ground for 3 minutes, and repeat on the other side.
04.
Lower the right foot in the lower lunge on the outside of the right hand, bend the knee 90 ° backward, the left leg on the front of the knee, flatten the back of the foot, push the back of the foot to the ground (cushion the knee pain below), and hold the hands on the ground, extend the spine for 3 minutes, and repeat on the other side the length of one leg of the 05 Goddess’s feet, turn the leg outward, exhale the toe tip outward, bend the hip, bend the knee 90 °, and the hips sink, extend the spine, push the hands on the inside of the knee, and extend the inside of the leg, Tighten the outside to the hip, extend the knee back as far as possible (keep the knee aligned with the second and third toes) for 1 minute 06.
Open the length of one leg with the double-angle feet, slightly bend the knee to exhale, bend the hip upper body forward and down, and keep the top of the head on the ground for 1 minute 07.
Sit in the cow-face position, bend the knee, and the right knee on the top, align the left knee, press the outside of the foot to the ground with both hands on the back, and keep the spine extended (the hips can be raised) for 2 minutes, Repeat the yoga on the other side.
08.
Sit and twist, bend the knee, put the left foot on the outside of the right knee, hold the right knee with the right hand (antagonistic), inhale, exhale, twist the upper body to the left, hold the left hand cup on the back for 2 minutes, and repeat on the other side.
09.
Happy baby supine, bend the knee 90 °, pull the palms of the feet down on both sides of the body, hold the knee close to the ground for 5 minutes.
Finally, lie on the back for 5-10 minutes.
After you have read it, you can watch it before you leave 👍。.

