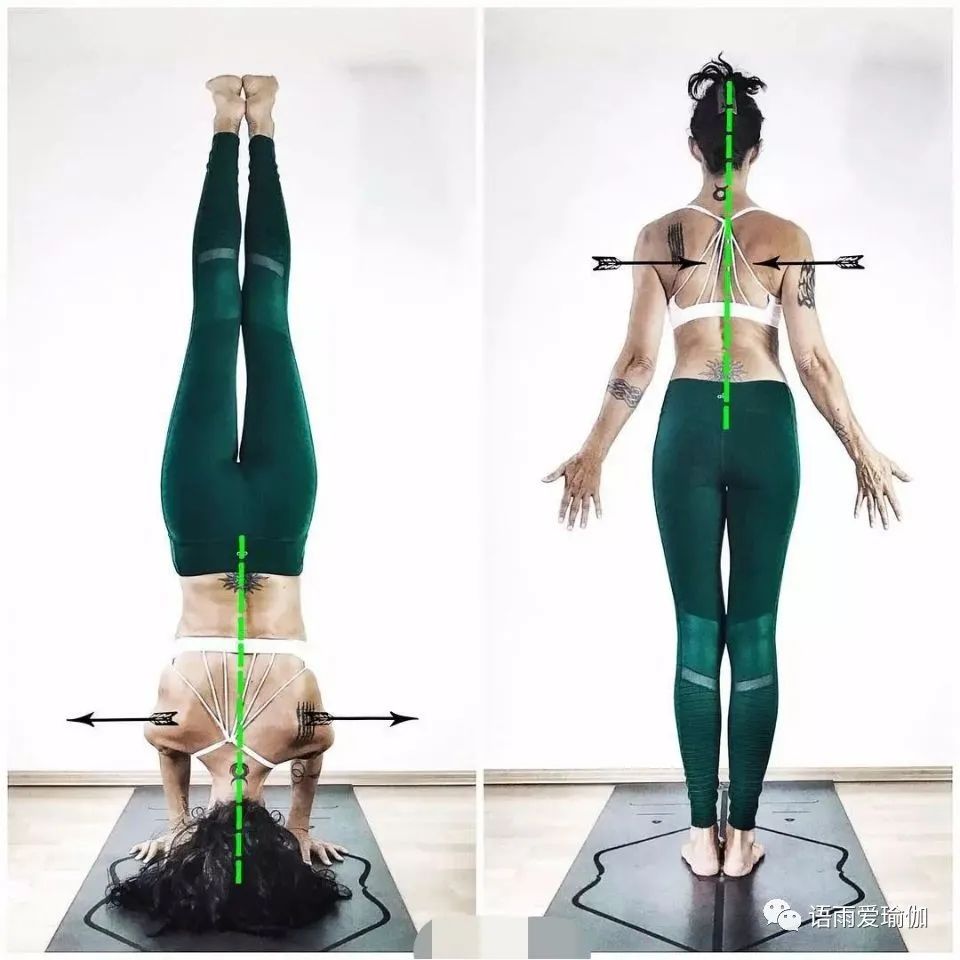
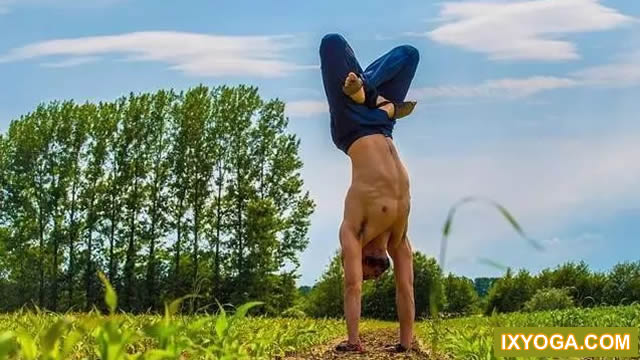
In yoga class, Do you often listen to “start your core” “Keep your hips level” and so on, these tips are very important.

Of course, these terms may also be confusing and difficult to understand, but once decoded, it will be very helpful! Before starting, visualize and psychologically understand the body’s positon in the way of posture or imagination, which can help you avoid injury and get the most benefit from practice.

Today, let’s take a look at these common Yoga positon tips and techniques, These tips may let you know what you are doing now.

1,…

Separate “hip width” when the teacher tells you that some parts of your body turn on “hip width”, they refer to the distance between your two hip bones.

Put your hands on your hips, touch the two big hip bones that should extend from the pelvis with your fingers, and extend them directly forward or slightly to the side, depending on your pelvis type.

These two big bones are the hips that your coach refers to.

The usual instruction is to separate your feet as wide as your hips.

At this time, please put the heels of each foot under these two big hips.

This prompt is easy to understand, but there is not much explanation.

2.

Hip level is the same, which refers to the two big hips you can feel with your hands.

Making them horizontal means that they are in the same plane both horizontally and vertically.

In other words, you won’t have one hip high or low, in front of or behind the other.

A good way to visualize is to look at the front of the yoga mat, which is a straight line.

Is your hip parallel to the top of the mat? Are they even with each other in height? The most common ones are the dog under one leg pose and the warrior pose, which we often call “hip turnover”.
In yoga Warrior III, “hip turning” is a very common problem.
On the one hand, it is due to leg compensation, on the other hand, it is due to the poor awareness of the body.
No matter which reason, we should learn to adjust.
3.
Straighten the spine stack the spine is very similar to straighten the spine, but it does help to think of it as a stack.
Visually stack one vertebra on top of the other, leaving a little space between each vertebra from the tailbone to the bottom of the skull.
At the end of this process, your spine may not be completely straight, because you should maintain natural curvature throughout the process, but stacking the spine can help you maintain good straightness in the desired posture and involve your core.
For example, in lotus sitting, we should consciously straighten our back and feel our spine straight up.
4.
The prompt of rotating the inner side of the thigh has puzzled me for a long time.
Imagine the thigh as two large cylinders, the top of which is connected to the hip joint.
To follow this tip, turn the thigh inward from the hip joint.
Imagine cylinders rotating around each other.
You should feel like pulling back the meat on your inner thighs and separating them from each other.
It sounds strange.
Once you follow this tip, it will change your posture in standing posture and downward dog pose, making your pelvis and lower back more active and supported.
Take mountain standing as an example.
Stand with your toes together and open your heels outward.
At this time, the state of your thighs is “internal rotation” of your thighs.
5.
Rotate the shoulder joint, which is basically the same as the previous tips, but the difference is.
To really activate your shoulders (especially in downward dog pose, etc.).
Think of your biceps as a cylinder this time.
Rotate them inward so that they are facing your body.
You can observe this in the elbow crease.
When you rotate the upper arm inward, the inner crease of the elbow should also rotate further inward to face each other.
This affects your entire shoulder joint and helps you pull the top of your shoulder backwards, downwards and away from your ears.
Activating the whole shoulder joint in this way can also reduce the pressure on the wrist, help you extend and lengthen your back, and improve the posture above your arms.
In the low position sprint and torsion, you can deliberately practice the rotation of your shoulders.
6.
Tilt your pelvis.
This is what I find most helpful in making your hamstrings and lower back flexible.
Back to our two big hips, imagine the tailbone sitting right between those two bones, but back a little.
For example, this will be useful if you are in cane pose.
To make the posture deeper, rather than bending and rounding from the lower back, you can imagine the entire pelvis tilting forward, thereby reducing the angle between the abdominal and leg lines.
By tilting your pelvis as a whole in this way, you can have a deeper understanding of posture.
In the toe forward bend, tilt the pelvis forward as a whole, which will make your posture deeper and prevent back injury.
7.
Let your core participate when starting the abdomen, many people tend to bulge the abdomen outward, but to really start the abdomen, your actual feeling seems to be pulling the back of the abdomen towards the spine.
You have two long abdominal muscles extending from the sternum to the groin, so tighten them and flatten your abdomen.
To really start your entire core, you need something else.
For example, in the panel, the focus is on flattening the abdomen and pulling it back to the spine, while flattening and straightening the back, which activates the entire abdominal muscle band around the lower abdomen and back.
I hope these skills can help you understand the tips of yoga teachers, prevent injuries, and get more benefits from practice!..


